
 Get started free
Kokotree Early Education App
Written by: Kokotree
Last updated:
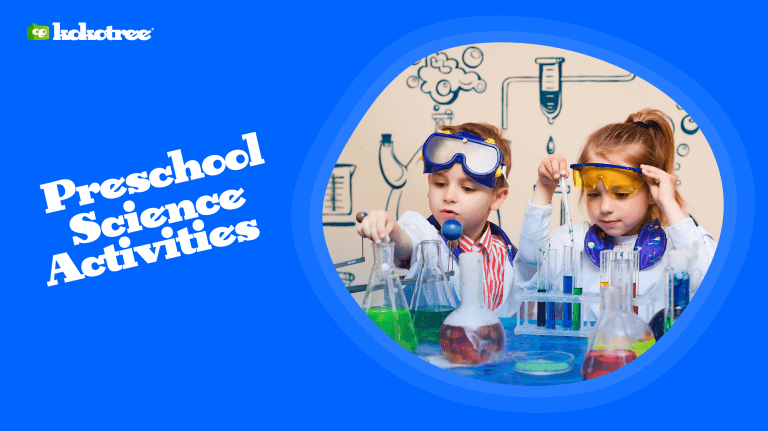
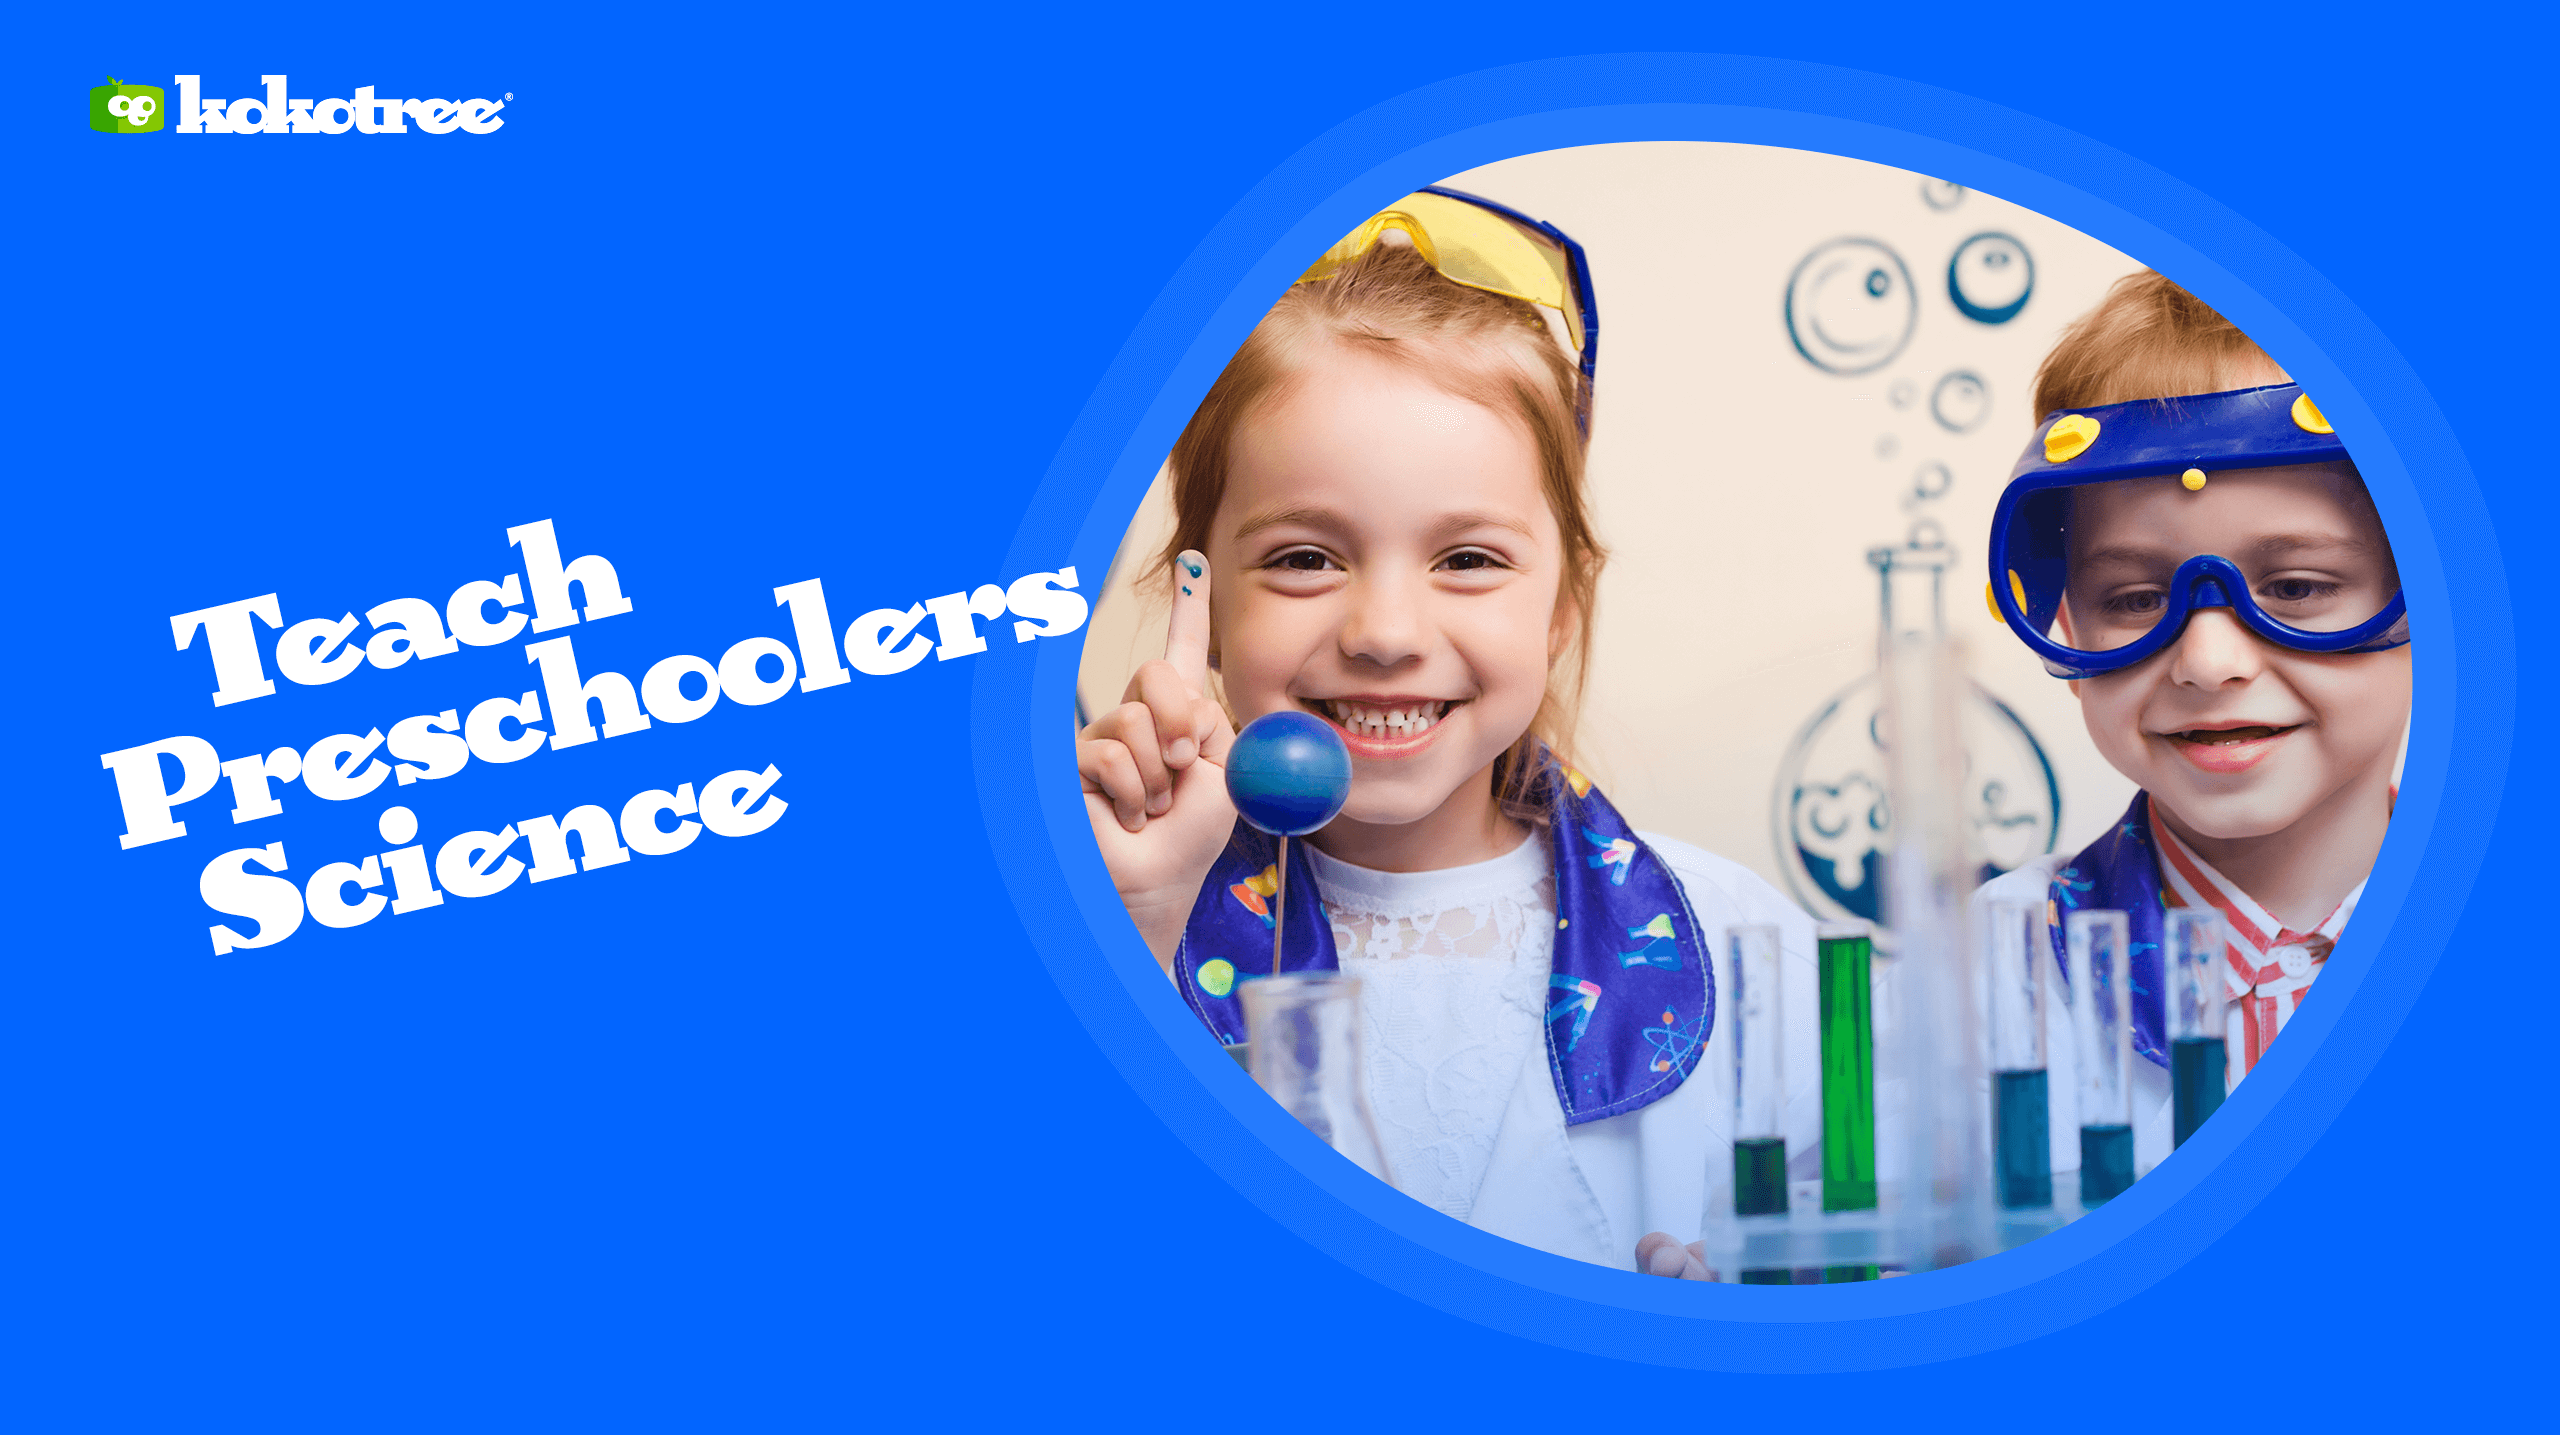
These science activities for preschoolers are a great way to introduce your child to the world of science, and both children and adults can enjoy them. So grab some supplies and get ready to have some fun!
There are many benefits to introducing your preschooler to science experiments at a young age. The first, of course, is that they begin to learn science skills. Plus…
For ages 2-6. They watch and play for 20 minutes. You get a break.
⭐ 5,000+ parents get daily breaks with Kokotree.
Try it Free →Works in 30 seconds • No credit card • Cancel anytime
Science for preschoolers is an introduction to the basic principles and concepts of scientific thinking and discovery. It is a way for young children to explore and understand the world around them and to develop their critical thinking and problem-solving skills.
Here is a list of some science activities that can be engaging and educational for 3-4-5-year-olds:
Observing and classifying objects — Children can use their senses to observe and describe objects and then classify them based on their properties, such as size, shape, color, and texture.
Planting seeds — Children can learn about the life cycle of plants and the factors that affect plant growth by planting seeds and observing them as they sprout, grow, and produce flowers or fruit.
Conducting experiments — Children can learn about cause and effect by conducting simple science experiments for preschoolers, such as observing what happens when they mix different substances or change the temperature of an object.
Exploring the outdoors — Children can learn about the natural world by going on nature walks and observing the plants, animals, and other living and nonliving things they encounter.
Building structures — Children can learn about balance, stability, and spatial relationships by building structures with different materials, such as blocks or popsicle sticks.
Making predictions — Children can practice their problem-solving skills by predicting what will happen in different situations and testing their predictions to see if they are correct.
For ages 2-6. They watch and play for 20 minutes. You get a break.
⭐ 5,000+ parents get daily breaks with Kokotree.
Try it Free →Works in 30 seconds • No credit card • Cancel anytime
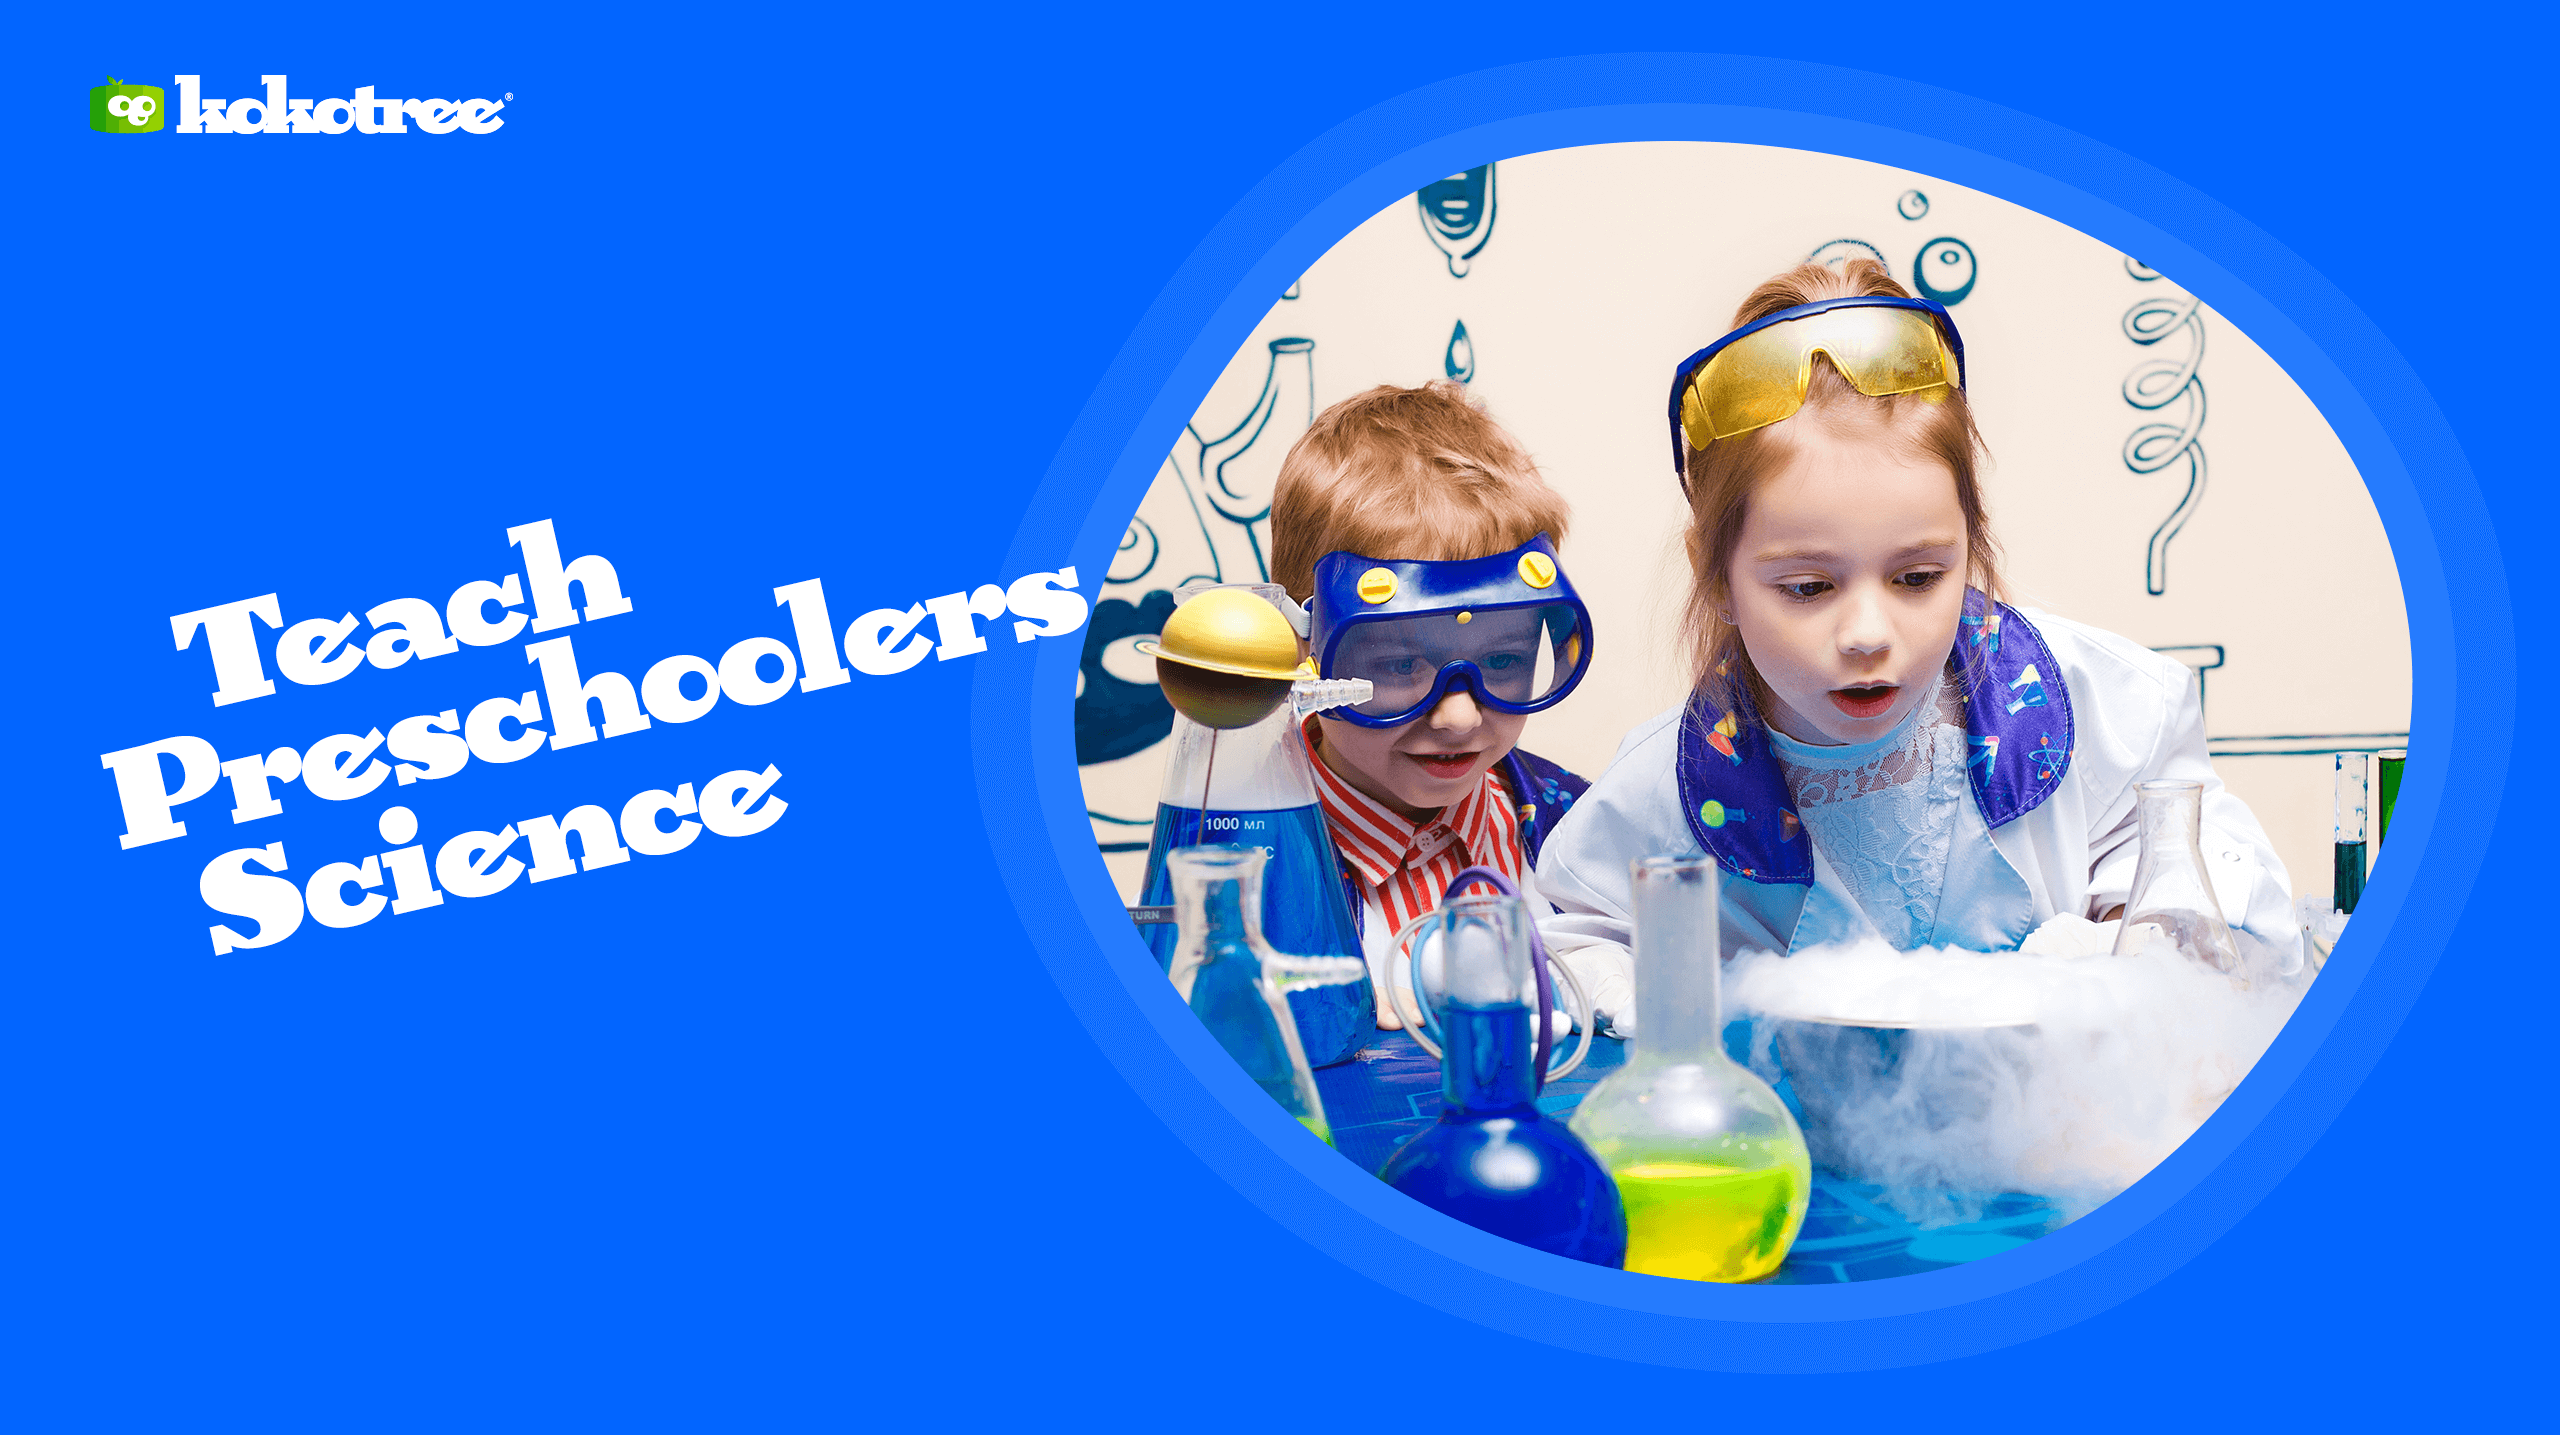
Ok. Let’s dig into the fun part. Below we highlight forty science activities for preschoolers that are easy to set up, super simple, and introduce the wonderful world of science to kids.
These science experiments will use things from around the house, like paper, milk, water, soap, baking soda and vinegar, and food coloring, to create cool stuff like safe chemical reactions, rainbows, crystals, and more.
Preschool science experiments at home teach kids to experiment outside the classroom, so they learn more than at school. The best part about these experiments and activities is that they are fun and free.
This is a straightforward activity that fascinates both preschoolers and adults alike! All you need is some magnetic putty (you can buy this online or at a science store) and a few small magnets. Show your child how the putty is attracted to the magnets, and let them play with it to see what else they can discover.
Lava lamps are always fun to look at, and kids will love making their own! You’ll need a clear jar, vegetable oil, Water, food coloring, and an Alka-Seltzer tablet.
Add the oil and Water to the jar in equal parts, then add a few drops of food coloring. Drop in the Alka-Seltzer tablet and watch the lava lamp come to life!
This is an effortless activity that demonstrates the concept of absorption. You’ll need two clear jars, paper towels, Water, and food coloring.
Place one end of the paper towel in each pot of Water, then add different colors of food coloring to each jar. The colored Water will travel up the paper towel and mix in the middle!
This is another easy science activity that impresses your little ones. You’ll need milk, food coloring, and a plate or tray.
Pour a small amount of milk onto the plate or tray, then add drops of different colors of food coloring. Use a toothpick or other sharp object to swirl the colors around and create a rainbow effect.
Who doesn’t love volcanoes? This classic science experiment is always a hit with kids! You’ll need a plastic bottle, modeling clay, vinegar, baking soda, and red food coloring.
Make a volcano shape out of the modeling clay and place it around the bottle opening. Add vinegar and baking soda to the bottle (in equal parts), then add a few drops of red food coloring for extra effect. Step back and watch your volcano erupt!
This is another classic, fun preschool science activity that kids of all ages love. You’ll need white school glue, borax powder, and food coloring (optional).
Mix the glue and borax in a bowl until you have a thick putty-like texture. You can add your own choice of food coloring to give it some extra flair!
This experiment demonstrates the concept of density. Start by boiling a few eggs in Water, place them into an empty glass or jar and cover them with vinegar. Watch as the eggs float (a clear sign of science at work!).
There’s just something fun about seeing things bounce! You’ll need a few eggs and some baking soda for this activity. Place your eggs in a bowl of Water and add a small amount of baking soda, then allow them to sit for at least an hour.
You’ll be amazed as the eggshells start to become bouncy and rubbery!
Slime is always popular with kids, making your version easy and fun. You’ll need white school glue, liquid starch (you can find this at any grocery store), food coloring, and maybe some glitter or sequins if you want to get fancy.
Add all the ingredients to a bowl, stirring until you have a thick slime-like consistency. Enjoy playing with your homemade slime, and don’t be afraid to get messy!
This simple preschool science experiment promotes creativity and experimentation in young children. You’ll need a few cups of Water, some food coloring, and a canvas or piece of paper. Let your child experiment with different combinations of colors and see what kinds of cool effects they can come up with!
Kids love rainbows, and this super cool science experiment will show them how to create their own. You’ll need a plate or tray, food coloring (different colors), and Water. Fill the dish with water and add drops of different food coloring, then let your child use a toothpick to swirl the colors into a rainbow pattern!
This is another fun science activity that uses baking soda and vinegar but in a unique way. You’ll need some seashells or small rocks, baking soda, white vinegar, clear glue or paint sealer, and food coloring (optional). Add all of the ingredients into a ziplock bag and mix everything.
Together, drop the bag into a bowl of Water and let it sit for at least 24 hours. Once the mixture has been set, you’ll be able to remove the shells or rocks from the bag and see that they now have an incredibly bubbly texture!
This fun preschool science activity lets kids experiment with different colors. You’ll need two spoons (not plastic), food coloring, and cold Water.
Start by filling one spoon with cold Water and letting your child add drops of food coloring.
Once the color begins to mix, use the second (clean) spoon to move the colored Water back and forth between the spoons. The changing colors will amaze them!
This activity lets kids explore the concepts of static electricity and magnetism. You’ll need a balloon, a small piece of tape, hair, and two bar magnets (you can find these at any craft store). Stick the video to your child’s head, then use one magnet to pull it off.
As the tape sticks to the magnet, notice how the hairs from their head stand up too. This is an incredible example of static electricity in action!
This fun, super cool, simple science experiment combines science with art for a memorable experience that young children will love.
Start using scissors or an X-acto knife to cut out a fish shape from black construction paper or cardstock. Next, cut a small hole in the side of an empty plastic bottle.
Tape the fish over the spot, so it is facing inward towards the bottle, then fill it with water and cap it tightly. You’ll be able to use a straw or pen to blow air through the top of the bottle and watch as your “fish” swims around inside!
This fun activity lets kids experiment with seeds and uniquely learn about plant growth and reproduction. Start by scattering a handful of sources on a flat surface (such as a cookie tray or paper plate), then have your child count out 10-15 seeds onto another piece of paper.
Next, pour some sand into their hands and ask them to cover the seeds so they are entirely hidden. Once all sources are buried, have them count how many they can find and see if they can beat their original count!
This is another one of the preschool science experiments for young kids who love art and sensory experiences. You’ll need white paper, some milk, food coloring, liquid dish soap (optional), cotton swabs or paint brushes, a shallow dish or bowl to pour the mixture into, and a dark room to keep it in overnight.
Fill your container with about an inch of milk, and then let your child add drops of different colors of food coloring around the edge of the plate. The next step is to slowly add some drops of liquid dish soap onto the milk until you start to see “waves” form across the surface.
Once this happens, your child can use cotton swabs or paint brushes to move the soap around and watch as colorful waves flow through the milk! You can keep it in the darkroom overnight, then remove it and see that the colors are set and won’t run or fade.
This fun preschool science activity using milk and food coloring is great for kids who love science experiments involving cool special effects.
Start by filling a small container with an inch of milk and adding drops of food coloring around the edges.
Next, add some more drops of food coloring on top of the first color, but do this slowly so that each color reacts with the milk below it and forms a different design. Once all your colors are added, shine a light on the milk and watch as colorful waves ripple through it!
This is a simple but fun activity that you can use to teach young kids about surface tension and inflatable toys. You’ll need an empty plastic bottle or bag, Water, some small inflatable toys (such as a balloon), and soap or shampoo.
Use scissors to cut off the top of your container so that you can pour in enough Water for the toy to float on top. Next, add some drops of soap or shampoo into the water and see what happens when you add one end of your toy into the container.
This project combines the fun of making homemade slime with the visual appeal of glitter for a fun sensory activity that kids will love. Start by mixing 1 cup glue and ½ cup starch in a small bowl, and then add as much glitter as you like to create a neon green slime mixture.
Once it’s made, use your hands or a spoon to mix and shape it into different shapes, then store it loosely covered at room temperature until you’re ready to play again.
This cute craft is perfect for young kids who love art projects that include sea creatures! You’ll need some blue construction paper, two plastic eggs, scissors, glue, and bright-colored markers or crayons.
Start by cutting the eggs in half lengthwise and gently pulling out the yolks inside to make space for your jellyfish body.
Next, draw on a face with eyes for your child to color in, then trim two small strips of construction paper as tentacles that they can glue onto the bottom of their jellyfish.
Finish by gluing both egg halves onto either side of their jellyfish body to complete their adorable ocean creature!
This incredible project uses milk and food coloring to teach kids about mixing different colors, which even older children will enjoy experimenting with.
You’ll need three shallow dishes or bowls, a tablespoon of milk for each, and five different colors of food coloring.
Pour the milk into a bowl and then add your first color to it – watch as a circular shape forms on top!
Next, use another color to “draw” more circles around the original circle in your new color. Continue doing this until you’ve used all five colors, then let your child observe the results.
This fun project is great for teaching young kids about chemical reactions while encouraging them to get creative with their artwork.
You’ll need some extra soft shaving cream (it’s best if you can find unscented shaving cream), plastic trays with large enough compartments for your child to fit their hand into, and washable tempera paint:
This fun art project combines painting with sensory exploration and simple science lessons about how liquids work together.
You’ll need white construction paper, watercolors or food coloring brushes with soft bristles (such as markers), and a shallow dish filled with Water.
First, let your child dip their meeting into a paint color and then run it through the Water to observe what happens.
Continue doing this with all three colors until they’ve created a rainbow on their paper.
Next, let your child use the same process to make even more rainbows that overlap each other!
This fun project is simple for kids to set up but creates astounding visual results that everyone will enjoy.
Start by filling a clear glass container about halfway complete with plain white rice (you can find it in bulk online or at health food stores), then have your child add several different colors of jelly beans on top of the rice and guess how many they think they’ll need for each color.
Once they’ve filled the container with all the jelly beans, use a measuring cup to fill up the rest of the glass until all of the rice is submerged, and then have them count how many jelly beans it took to reach that point!
This craft project can also double as a cool science experiment when you talk your child through what’s happening during different parts of it.
You’ll need cheap plastic drinking straws (300 in an assorted pack on Amazon for less than $5), scissors, tape, and food coloring or liquid watercolors (both are available at large craft stores).
Start by cutting several 3-4 inch pieces off one straw and then cut notches into one end of each part (be sure to make the incisions opposite from each other so that they form a V shape).
Next, tape three pieces together to stick out in different directions. Finally, please have your child add a few drops of food coloring or liquid watercolors to their container, then drop the straws in and let them observe what happens!
This art project is simple enough for young children to do by themselves but still results in beautiful paintings. You’ll need several sheets of paper towel, shredded tissue paper (usually found at craft stores), small containers filled with watercolors or liquid watercolors (buy these online or at large craft stores), a paintbrush, and a shallow tray:
This recipe is super easy for kids to make themselves but results in some satisfying sensory play that makes everyone happy.
Start by adding 2 cups of plain flour (or gluten-free flour if needed) to a large bowl, and then add 1 1/2 cups of salt, four tablespoons of cream of tartar, one tablespoon of vegetable oil, and 2 cups of Water.
Mix everything with a spoon until all the lumps are gone, and then have your child knead it with their hands (or use an electric mixer if you want to make it even easier)!
Once they think it’s ready, give them mud pie accessories (like shovels or dollhouse dishes) and let them dig in!
This fun science activity for preschoolers combines painting with sensory exploration for hours of fun. You’ll need approximately 3 cups of table salt, several sheets of black construction paper (you can usually find these at large craft stores in packages of 100), and some liquid watercolors (buy these online or at large craft stores).
Start by spreading the salt out onto a baking sheet, then have your child pour several colors of liquid watercolor over top of it.
Next, have them tilt their paper so that one end is close to touching the salt and use their fingers to press down on it lightly until they see what colors appear!
You can repeat this process with different colors until everything fades away or leave it as an excellent finished product.
This project has many possible variations you could try, but if you’re starting, we recommend using long pieces of white butcher paper and some food coloring (liquid or gel) mixed with Water.
Start by folding the butcher paper into a diamond shape and then use tape to secure it along all edges except one.
Once they’re done, please have your child use a paintbrush to apply their colored liquid onto that open edge until it’s fully covered (remind them not to add too much so that the ink doesn’t seep out).
Then, let the kite dry completely before you remove the tape! You can also do this project using strips of white fabric and dipping them in dye instead if you prefer.
This fun art project allows kids to combine nature exploration with creativity for some beautiful results:
Nature collages can also include doing the flower-pressing game to help preschoolers learn about science.
This project is easy for kids of all ages but results in some marvelous pictures that everyone will love!
Start by drawing various trees and objects onto black construction paper with a white crayon, ensuring the lines are nice and thick.
Then, have your child use an old toothbrush to gently scratch off the crayon leaving behind a black-and-white picture!
This is one of our all-time favorite play dough recipes because it creates a great texture that’s easy for kids to work with!
Start by adding 3/4 cup peanut butter, 3 cups of powdered sugar, and two tablespoons of honey into a large bowl.
Next, slowly add enough Water (about one tablespoon) until you can stir everything together well. Finally, knead the mixture with your hands until it forms a cohesive ball (you may need to add more water if it gets too dry)! Once they’re done, you can use cookie cutters or rolling pins to make other fun shapes!
This excellent play dough recipe is perfect for kids to do during the cold winter months without having to turn on their ovens!
Start by mixing 2 cups of flour, 1/2 cup of salt, one tablespoon of cinnamon, one teaspoon each of nutmeg and cloves, and four tablespoons of warm water in a large bowl until it forms a cohesive ball.
Next, please have your child roll out the mixture onto a lightly floured surface (a small rolling pin works well) before they use cookie cutters or their hands to create shapes.
Then, position them on a greased baking sheet before sticking a straw into the center of each one.
Finally, bake them at 200 degrees Fahrenheit (or as directed in the recipe) until they’re completely dry and hard!
This is another great project for younger kids who don’t have much experience with art but want to try something new!
Start by gathering any old canvas around your home and laying it flat on a table.
Next, please help your child use their fingers or paintbrush to apply liquid tempera paint until they’re happy with how their canvas looks.
Finally, let it dry upside down before you frame it or hang it on your refrigerator using magnets (we also like using Washi tape to create fun borders)!
This is a fun activity for older kids with experience painting pictures or, even better, some floral design training!
Gather any old canvas you have at home and lay it flat on a table to get started.
Next, use soft brushes of different sizes (you can even substitute cotton swabs for the smaller ones) to apply varying amounts of paint from lightest to darkest.
This fantastic preschool science activity is perfect for younger children who are still learning their colors!
Start by laying out a piece of parchment paper on your table, then grab some white glue and draw an egg shape or any other fun design onto it.
Next, use liquid watercolors to paint the glue with various colors, making sure you keep all two colors distinct. Finally, sprinkle the wet canvas evenly with salt before waiting to dry upside down (you can also put it outside in the sun for added effect!).
This is one of my favorite winter painting projects because it looks realistic! To get started:
This is one of my favorite winter crafts because it’s as simple as just cutting up two paper plates for each pair of skates you want to make (hence why we recommend this for younger children)!
The best part about these ice skates is how easy they are to put together – all you need is some glue and tape:
If you’re looking for a fun way to finish out our list of art projects, we recommend taking things indoors this time!
To start with this craft, gather any old pair of socks in your home that doesn’t fit anymore and an old pair of slippers (or even better, buy some cheap ones at a thrift store).
Then, help your child cut the socks into 2″ wide strips before wrapping them around the slippers to form a new pattern. Finally, let them put their feet inside the finished product and use markers to draw faces or other fun designs!
Many science games are suitable for preschoolers. Here are a few ideas:
Seasonal science activities for preschoolers are a great way to engage young children in the world around them and help them learn about the natural world. These activities can be tailored to the specific season and involve observing and exploring the changes in the weather, plants, animals, and other aspects of the environment.
Seasonal science activities can also be fun and engaging for children and provide hands-on learning and experimentation opportunities.
Whether planting seeds in the spring, exploring the properties of ice and snow in the winter, or investigating the behaviors of summer insects, there are endless possibilities for seasonal science activities that can be both educational and enjoyable for preschoolers.
Preschoolers are curious by nature and love to learn new things. If you want to teach science projects to your preschooler, there are a few things you can do to make it fun and engaging. You can start with basic concepts like solid and liquid or how plants grow.
You can also get creative and use everyday objects to teach science concepts. Making learning fun will help your child develop a lifelong love of science!
Science is a topic that can be difficult for young children to understand, but with the right strategies, science projects can make it into a fun and exciting subject. Here are some tips to help support your preschooler’s science learning:
This could mean doing simple experiments like making slime or baking cookies in an oven you have set up outside. This will help make science a fun and regular part of your child’s everyday life.
If you have the space, consider setting up a particular area in your home where your child can do their science experiments. This could be an outdoor play area or an empty corner of a room they can use as their “science lab.” Having this dedicated space will encourage them to explore and experiment more frequently.
It is essential to keep things simple and engaging when teaching preschoolers about the scientific process. Avoid using technical terms or overly complex language when explaining things, and try to present concepts in concrete, visual ways that are easy to understand.

Get free parenting tips, news, updates, and content from Kokotree.
Keeping a record of their experiments and what they have learned will help them reflect on and process what they have learned over time and reinforce their understanding concretely. You can encourage your child by asking them to share what they have been up to recently during family dinner or while driving in the car.
For example, you could use a magnifying glass to show how your child’s eyes work. Or you could use rocks and water to demonstrate erosion or the properties of liquids.
Asking open-ended questions is an excellent way to help your child develop scientific thinking skills. You can encourage them to ask questions about what they see, hear, smell, taste, or touch during everyday activities like walking in nature or cooking dinner together.
Visual aids like books, videos, demonstrations, or even role play can make it easier for your child to understand complex concepts like plant growth or energy transfer. You can also use hands-on activities like building block towers or creating art to demonstrate scientific concepts.
Instead of buying expensive scientific kits, find everyday items around your house to use as teaching tools, like measuring cups and spoons, plastic bottles, and containers of all shapes and sizes.
Help foster a love of nature by walking together and pointing out different plants and animals along the way. Talk about what they see and how it relates to scientific concepts like camouflage and migration patterns.
These places often have a hands-on approach to learning, and many also have classes specifically for preschoolers, which can give them a more in-depth understanding of scientific topics. With these tips in mind, you can help make your child’s early experiences with science both enjoyable and educational!
The next time you and your child feel like breaking out the paints to get creative, consider one of these 40 fantastic science projects for kids! Even better?
Try mixing two or three for even more variety! As always, have fun with these ideas (and remember to share some pictures on our Facebook page when you’re done)!