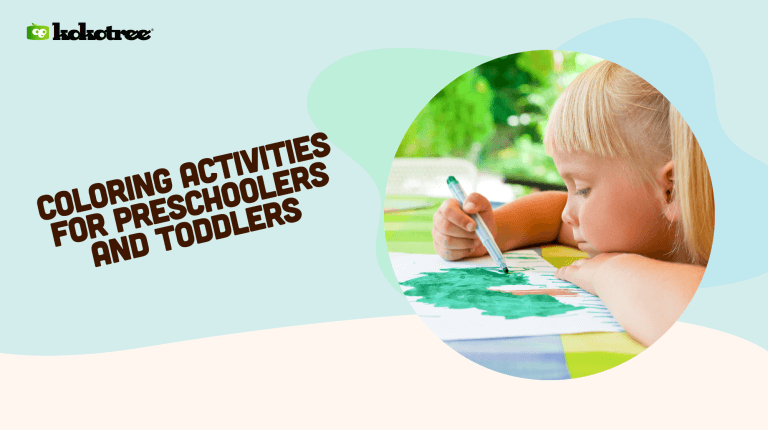
Coloring activities are fun and crucial for a toddler’s development. They help improve motor skills, stimulate creativity, and enhance color recognition.
Simple coloring activities for toddlers include coloring books with large images, freehand drawing with crayons, or even finger painting.
Remember to always use non-toxic, washable coloring materials for toddlers to ensure their safety.
Engaging Toddler Coloring Activities
Engaging toddler coloring activities can range from traditional coloring books to more innovative and interactive methods.
For instance, you can create a coloring treasure hunt where your toddler has to find and color certain objects in a large picture.
Alternatively, you can use coloring as a way to learn about different topics, such as animals, shapes, or numbers. Always ensure to praise your toddler’s effort to boost their confidence and encourage creativity.
Fun Color Activities for Toddlers
Fun color activities for preschoolers can go beyond the coloring book. Consider activities that involve sorting and matching colors, like a color scavenger hunt where children find items around the house that match certain colors.
Another fun activity is color mixing, where children can learn how to create new colors by combining primary colors. These activities teach color recognition and enhance problem-solving skills and creativity.
Choosing the Right Coloring Materials for Toddlers
When it comes to coloring materials for toddlers, safety and ease of use are paramount. Crayons are a great choice as they are easy to grip and come in a variety of colors.
Washable markers are also a good option as they allow for easy cleanup. Finger paints can provide a fun, tactile experience for toddlers, helping them to engage more fully with the coloring activity.
Always ensure that any coloring materials you choose are non-toxic and suitable for your child’s age.
1. Download free Kokotree coloring pages.
Looking for a quick and convenient way to engage your child in coloring activities? Download free Kokotree coloring pages and allow them to enjoy various fun and creative themes. These printables are perfect for rainy days or when you need a moment of peace. Here’s how to get started:
Supplies needed:
- Printer with ink White paper (preferably thicker than standard printer paper, such as cardstock)
- Crayons, colored pencils, or markers
- Optional: A clipboard or a hard surface to place the coloring page on for support
How to Download and Use the Coloring Pages:
- Go to this page and download the free coloring pages, choosing the ones that appeal to your child’s interests and imagination.
- Load your printer with white paper and print the selected coloring pages.
- Provide your child with a comfortable space to color, such as a table or desk. If needed, use a clipboard or a hard surface for support.
- Give your child a set of crayons, colored pencils, or markers, and encourage them to explore their creativity by filling in the Kokotree coloring pages.
Display their finished artwork proudly, and consider storing their creations in a folder or scrapbook to cherish their artistic journey.
2. Make-your-own coloring pages.
Why settle for store-bought coloring books when you can inspire your child’s creativity with make-your-own coloring pages? This activity not only encourages imagination, but is also environmentally friendly, giving new life to used paper and cardboard. Before starting, ensure you’ve got the necessary bits and bobs, such as:
- Used paper or cardboard
- Markers or crayons
- Pencils
- Recyclable materials (e.g., cereal boxes, packaging, flyers)
- Optional: Stencils or stamps
How to Create the Coloring Pages:
- Collect a few sheets of used paper or cardboard, ensuring one side is clean and free from creases.
- Encourage your child to draw simple shapes, such as circles, squares, or triangles, or outline a favorite toy using a pencil.
- If your child is not confident with their drawing skills, offer stencils or stamps to create fun patterns and designs.
- Once the outlines are complete, invite your little artist to color them in with crayons or markers!
Get ready to adorn your fridge with these colorful creations, and don’t forget to recycle the coloring pages once they’ve had their moment in the spotlight!
3. Color mixing fun.
Introduce your child to the magical world of color mixing! This exciting activity teaches kids about primary and secondary colors and promotes creativity and experimentation. All you need are a few basic supplies:
- Paints in primary colors (red, blue, and yellow)
- Paintbrushes
- Small mixing containers, such as egg cartons or plastic cups
- White paper
- Newspapers or a drop cloth to protect the workspace
- An apron or old shirt to protect your child’s clothes
How to Mix Colors:
- Set up a workspace with newspapers or a drop cloth to avoid spills and stains.
- Introduce the primary colors to your child, explaining that these colors can be mixed to create new colors.
- Encourage your little one to combine different amounts of primary colors in the mixing containers and observe the resulting secondary colors.
- Invite your child to use their custom-made colors to paint on white paper, fostering their creativity and self-expression.
Put their colorful masterpieces on display, and remember to snap a photo for the memory books!
4. Crayon melting art.
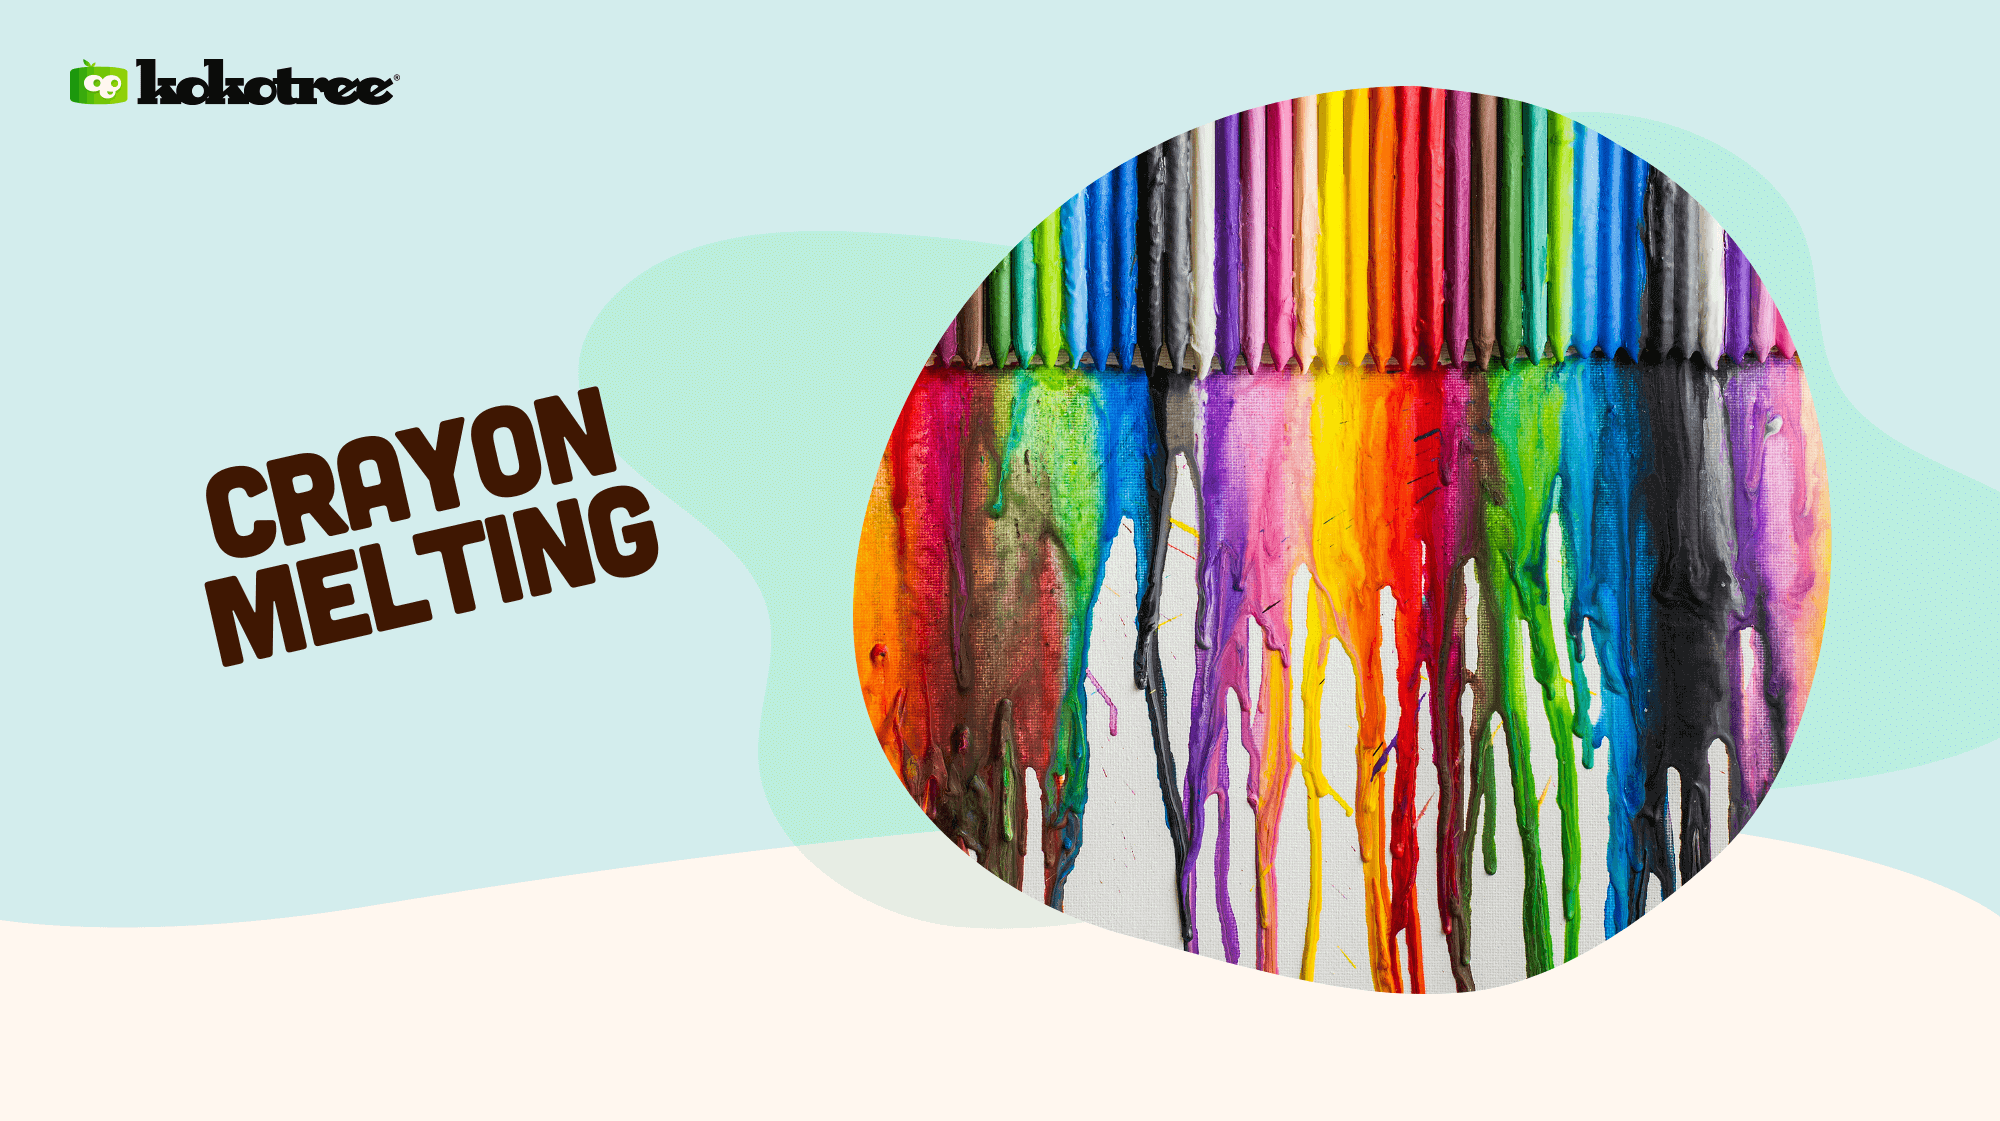
Transform old, broken crayons into dazzling artwork with this captivating activity! It’s a fantastic way to teach your child about the science of melting and cooling and the importance of recycling. Ensure you’ve got the following supplies before embarking on this creative adventure:
- Broken or old crayon pieces in various colors
- A silicone mold or muffin tin
- An oven
- An oven mitt
- Waxed paper, a drop cloth, or heap of newspapers
- White or light-colored paper
How to Make the Crayon Art:
- Preheat your oven to 250°F (120°C).
- Break your crayons into small pieces and encourage your child to sort them by color.
- Place the broken crayons into the silicone mold or muffin tin, experimenting with color combinations to create vibrant patterns.
- Bake the crayon-filled molds in the oven for about 15-20 minutes or until completely melted. Do not leave the oven unattended and check the progress periodically.
- Using an oven mitt, carefully remove the molds from the oven and set aside to cool and harden. It may take up to an hour for the melted crayons to become solid again.
- Once cool, demold the crayon discs and invite your child to create drawings with their new swirly crayons. Lay down waxed paper or newspapers to protect the work surface from any residue.
Proudly hang up your child’s beautiful crayon-melting masterpieces as a testament to their artistic prowess!
5. Nature-inspired finger painting.
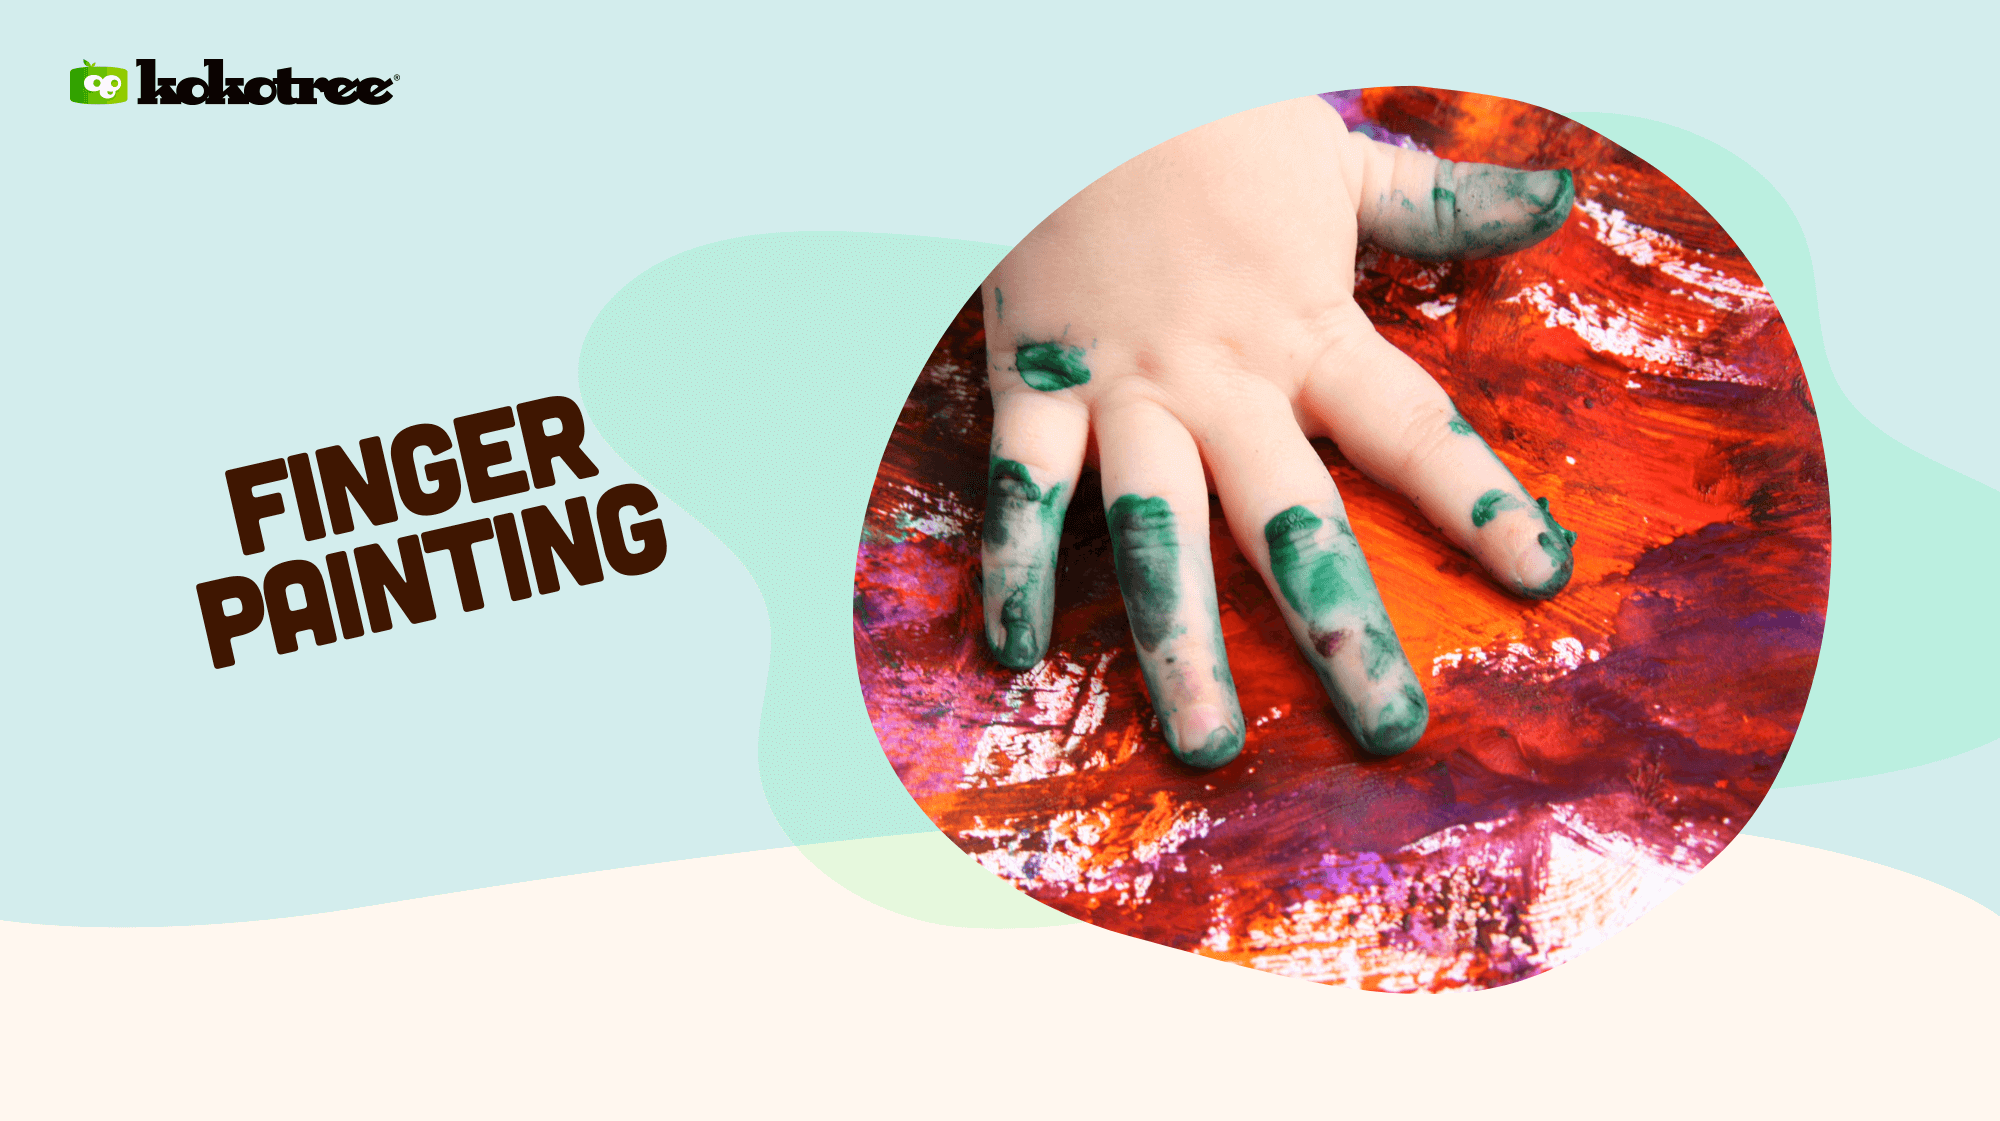
Bring the outdoors in with nature-inspired finger painting! This engaging activity combines art, sensory play, and nature exploration, creating a memorable experience for both you and your little one. Gather these supplies and prepare to make a colorful mess:
- Non-toxic finger paints in various colors
- White paper or canvas
- Smocks or old shirts to protect your child’s clothes
- Various nature items, such as leaves, twigs, flowers, or pebbles
- A drop cloth, newspapers, or a waterproof tablecloth for easy clean-up
Before getting started, ensure the nature items are free from dirt or insects.
- Lay down a drop cloth, newspapers, or a waterproof tablecloth on your workspace for easy clean-up.
- Set out the finger paints and nature items in an accessible area for your child.
- Slip into smocks or old shirts to protect your clothes from stains.
- Invite your child to dip the nature items into the finger paint and press them onto the paper or canvas, creating colorful patterns and textures.
- Encourage your little one to get creative with their fingers, making swirls, dots, or lines using the finger paint and their nature tools.
Once the artwork is complete and dry, display it proudly as a reminder of your child’s connection to the natural world.
6. Colorful sensory bag painting.
Here’s an ingenious, mess-free alternative to traditional painting! Sensory bag painting not only satisfies the sensory needs of children but also helps develop fine motor skills and hand-eye coordination. Grab these supplies and get ready for some colorful parenting tips that are easy on clean-up:
- Zip-top plastic bags in gallon or quart sizes
- Non-toxic paint or washable paint in various colors
- Tape (optional)
- White paper or cardstock cut to fit inside the plastic bag
How to Paint in a Sensory Bag:
- Place the white paper or cardstock inside the zip-top plastic bag.
- Encourage your child to squeeze a few dollops of different colored paints into the bag, on top of the paper.
- Seal the bag shut, making sure it’s completely zipped up and free from air bubbles, then optionally tape the closing to give it extra security.
- Invite your child to press and squish the bag to move the paint around, mixing the colors and creating different shapes and patterns on the paper.
- Once they have completed their mess-free masterpiece, carefully remove the painted paper from the bag and allow it to dry before displaying it.
This sensory bag painting activity is perfect for those days when you’re short on time or energy but still want to engage your child in a fun and creative activity.
7. Edible finger paints.
Got little ones who love to taste-test everything in sight? Whip up a batch of homemade, edible finger paints for worry-free, colorful playtime! Here’s what you’ll need:
- 2 cups of cornstarch
- 1 cup of cold water
- 4.5 cups of boiling water
- Food coloring in various colors
- Small bowls or containers for mixing
- An apron or old clothes to protect your child’s outfit
- White paper or a large plastic tray/placemat
How to Make and Use Edible Finger Paints:
- Whisk together the cornstarch and cold water in a large heat-proof bowl until smooth.
- Slowly pour the boiling water into the cornstarch mixture, whisking continuously until well combined.
- Allow the mixture to cool slightly, then divide it into smaller bowls or containers.
- Add a few drops of food coloring to each bowl, stirring thoroughly to achieve vibrant colors.
- Prepare your child for some edible fun by dressing them in an apron or old clothes.
- Sit back and watch your little one explore, smear, and taste-test their creative concoctions on white paper or a large plastic tray/placemat.
Enjoy the freedom of mess and worry-free playtime with these edible finger paints, knowing your little one can safely create their colorful artwork!
8. Colorful collage art.
Introduce your child to collage art – a delightful way to spark their creativity while honing scissor skills and hand-eye coordination. With this imaginative, low-pressure activity, your child can build an eye-catching masterpiece from the following supplies:
- Magazines, old books, newspapers, or flyers
- Safety scissors
- Glue or glue sticks
- White paper, canvas, or poster board
How to Make Collage Art:
- Help your child collect interesting, colorful pictures, patterns, and shapes from magazines or newspapers.
- Encourage your little one to practice their scissor skills by cutting out the selected interest pieces.
- Experiment with the arrangement on the white paper, canvas, or poster board, considering themes, abstract designs, or an organized color palette.
- Assist your child in securely gluing the pieces and let the glue dry completely before admiring your kiddo’s collage art.
Display their work of art around the home, showcasing their fascination with shapes, colors, and patterns!
9. Rainbow sensory rice drawing.
Stimulate your child’s senses with the colorful and tactile experience of sensory rice drawing. Not only is it a creative and fun activity, but it’s also a great way to develop fine motor skills and concentration. Here’s what you’ll need:
- Colored, uncooked rice (look for tutorials on how to dye rice, or buy pre-colored rice)
- A large, shallow tray or baking sheet
- White paper or cardstock
- Glue or glue sticks
How to Make Sensory Rice Art:
- Spread the colored rice out in a shallow tray or baking sheet, creating a rainbow pattern or a random mix of colors.
- Help your child apply glue to the white paper or cardstock, forming simple shapes, patterns, or lines.
- Invite your little one to press the paper onto the rice, allowing the rice to stick to the glue-covered areas.
- Lift the paper from the tray and gently tap off any excess rice before setting it aside to dry.
Once the glue has dried, hang their sensory rice drawing in a special place, celebrating your child’s creativity and sensory exploration!
FAQ: Coloring Activities for Preschoolers and Toddlers.
Curious about making the most out of your child’s coloring experience? Find answers to some of the most frequently asked questions regarding coloring activities for preschoolers and toddlers. Let this FAQ guide help you create joyful, colorful memories with your little artist.
How do coloring activities benefit preschoolers and toddlers?
Coloring activities engage children in creative expression and foster the development of essential skills, such as fine motor skills, hand-eye coordination, color recognition, and concentration. Furthermore, coloring allows children to explore their imagination and develop a sense of accomplishment.
Are coloring pages better than free drawing for young children?
Both coloring pages and free drawing offer unique benefits. Coloring pages help children practice staying within lines and focusing on details, while free drawing encourages creativity and self-expression. Providing a mix of both activities allows your child to develop a well-rounded set of artistic skills.
What types of materials are safe for toddlers to use in coloring activities?
Materials such as washable and non-toxic crayons, markers, and finger paints are suitable for toddlers. Many companies offer products specifically designed for young children, ensuring that the materials are safe and easy to clean.
How can I encourage my child’s creativity during coloring activities?
Offer varied materials, colors, and textures; encourage experimentation, and provide positive feedback. Be sure to ask open-ended questions about their artwork to spark conversation and let your child explain their creative choices.
What are some mess-free options for coloring activities?
Sensory bag painting, water drawing mats, and washable markers are excellent mess-free options. These activities provide enjoyable coloring experiences without the worry of spills, stains, or hard-to-clean accidents.
How often should I incorporate coloring activities into my child’s routine?
There’s no definitive rule, but including coloring activities a few times a week provides a balanced, creative outlet for your child. Remember to keep the atmosphere fun and stress-free, ensuring that your child enjoys the process.
Can I use digital coloring apps as an alternative to traditional coloring?
Digital coloring apps are a convenient, mess-free alternative to traditional coloring. However, physical coloring activities provide tactile experiences and sensory development opportunities that digital apps cannot. A mix of both traditional and digital coloring can offer a diverse creative experience.
What if my child doesn’t seem interested in coloring activities?
Each child is unique and may have different interests. Observe your child’s preferences and consider experimenting with various materials, techniques, or themes to spark their enthusiasm for coloring. Encourage them to explore their artistic side but be patient if they show more interest in other forms of play or expression.